Search
Close this search box.

My profile

Each Fidoo user has a profile where they can manage and set up their information.
Change of telephone contact

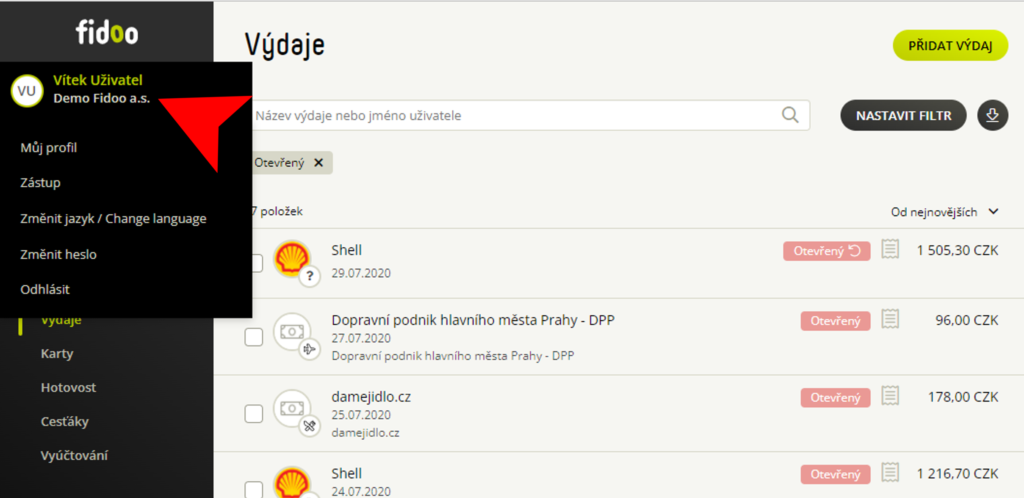
  1. In the web app, click on your name (top left) – My Profile – the green Change icon icon next to your phone number.
  2. Enter the new phone number and Save number change.
    Change your phone number
  3. Enter the six-digit code you received for your new phone and go on.
  4. In case you do not have access to the application, please request a change of telephone contact for the main administrator of the application.

Setting up the Shortcut feature

  1. In the web app, click on your name (top left) – Proxy.
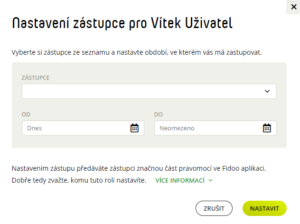
  2. Select Add Shortcut, select a shortcut from the list of users, and enter the shortcut time.
    Setting up a crowd
  3. Confirm with the Set button.

Adjusting the queue time

  1. In the web app, click on your name (top left) – Proxy.
  2. For the shortcut you want to edit, select Edit.
  3. Adjust the time and confirm with the Set button.

Termination of the crowd

  1. In the web app, click on your name (top left) – Proxy.
  2. For the queue you want to terminate, select Terminate.
  3. Confirm with the End Shortcut button.

Login to the account of the represented person

Web app

  1. Click on your name (top left) – Switch user.
  2. Select the user you want to represent.

Mobile app

  1. After logging in, information about the possible crowd will appear for a few seconds, click on
    Switch
    or select

    Next.


  2. Click on your name in green and select the person you want to represent.

Setting up notifications in a queue

  1. Click on your name (top left) –
    My profile.
  2. Select a tab
    Notifications.
  3. If you have notifications set up on your company, tick
    Individual settings.
  4. Scroll through to turn on/off the Notifications section of the Tab, and
    Save
    .

Frequently asked questions about representation

You will always receive an informational email when you set up, change or terminate a shortcut.

Web app

  1. Click on your name in the top left corner.
  2. Select Back to my account from the menu. The app will then switch you to your account.

Mobile app

  1. Click on Next and the name of the person you are representing in green.
  2. Select My Profile.

The moment you switch to the represented profile, the personal profile field turns purple. You can get back to your account the same way.

The representative will see and do almost everything that the represented user is entitled to. However, there are some sensitive areas that the representative will not be able to access or see, but will not be able to edit.

In the profile of the represented user:

  • change password
  • view of sensitive information
  • modifications in the profile
  • permanent card blocking and PIN display
  • acceptance of the renewed card

Generally in the application:

  • setting roles and rights
  • approval settings
  • view of Fidoo account
  • charging cards
  • AML acts

Change language version

Web app

  • Click on your name (top left) – Change language and select.

Mobile apps for iOS

  1. On your phone, select Settings and find the Fidoo app.
  2. Click on Language and select the variant you want to use.

Mobile apps for Android

The Fidoo app is set up according to the language settings on your phone as follows:

  • The phone is set to Czech and Slovak language, the application is in Czech.
  • The phone is set to any other language, the app is in English.

Change your login password

  1. In the web app, click on your name (top left) – Change password.
  2. Enter the original and new passwords and confirm with the Change Password button.

Switching between multiple companies

If you are elected as a so-called. super user, you will receive an email accepting or rejecting the role.

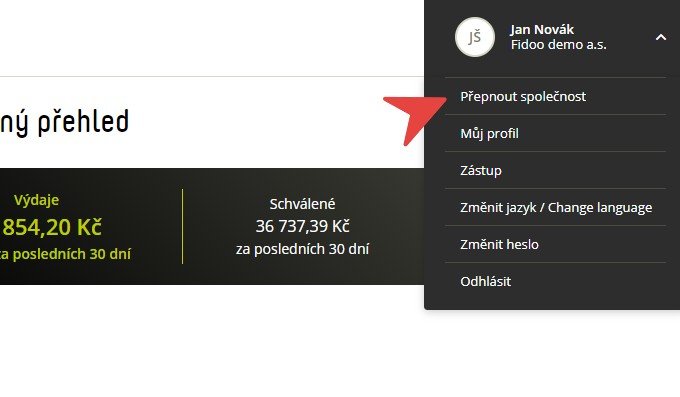
  1. In the web app, click on your name (top left) – Switch company.
    Switching companies in FIdoo
  2. Click on the selected company to be redirected.

Notification settings

  1. In the web app, click on your name (top left) –
    My profile.
  2. Select a tab
    Notifications
    and tick
    Individual settings.

  3. Slide the button

    /


    to turn on/off


    messages or notifications, and


    Save


    .

Frequently asked questions about my profile

The main administrator provides support to all users of the Fidoo application. So if you need to find out who in your company has this role, do the following:

  1. Log in to the web app.
  2. In the bottom left corner, click Main Administrators.
  3. This will open a window with information about the administrators.
  1. Make sure you’ve set up notifications to be sent directly to you in the downloaded Fidoo mobile app:


    Next – Settings – Push notifications
    – The slider is on (shown in green)
  2. Check the notification settings on your phone:

    Settings – Notifications
    – Find and select the Fidoo app.
    Enter
    Find and select Fidoo and select Fidoo.
    .

Sometimes it happens that when the phone with iOs is set to “silent mode” i.e. has the side button switched in the down position (you can see red) – push notifications are not displayed.
Types of Fidoo cards

The Fidoo card is a classic payment card from Mastercard. The card allows classic payments at a merchant’s terminal, ATM withdrawals or online payments.

Personal Fidoo card

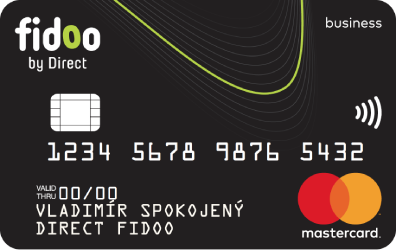
  1. If your name is on the card, it is a personal card.
  2. Only you use this card.

Team Fidoo card

  1. If the card has a team name or a license plate number instead of a name, it is a team card.
    The team card can be named at your discretion, but it must not be the name of the app user to avoid confusion with a personal card.
  2. The team card is shared and can be passed around within the team and can be used by anyone in the team.
  3. However, a team card always has only one holder who is responsible for it.

More about Fidoo cards

Want more information about Fidoo cards? We’ve got the support to do it own separate section.

How approval works in Fidoo

Approval process in Fidoo

When an expense is created, a receipt is created, or a recharge card request is sent, the approver is informed of the item to approve as follows:

Expenses and receipts

  • In the web application, a number (number of items to be approved) will appear in the Approvals section.
  • In the mobile app you will informed by based on your notification settings.

Requests to top-up the employee card

  • In the web application, a number (number of items to be approved) will appear in the Approvals section.
  • The mobile app will notify you with a notification as soon as a top-up request is sent.

Who is the approver

  • An approver is an application user who approves card recharge requests, expenses and/or receipts sent to them.
  • When you become an approver, you will see a new section in the app called Team Finance. This section displays the cards, expenses and/or receipts of all users for whom you are an approver.

Hierarchy of approval

Approval at company level

  • This is the most general form of approval, where the same approver is set for all users.

Approval at team level

  • The user selected as the team manager sees the team members’ expenses and usually becomes the approver.

Approval at project level

  • For each project that is entered in theapplication, , it is specified who is its approver. When a user enters a project into an expense or assignment, the user specifies to whom it will be sent for approval.

Individual approval

  • Each user has their own approver set up, but when selecting Project Approval, the individual settings cannot be applied to approve expenses and receipts.

Approval and rejection of expenditure

Authorisation of expenditure

Web app

  1. Approvals section tab Expenses and Receipts click on the person you want to approve.
  2. Click on the name of the expense and check or edit it.
  3. Select Approve Expense in the expense detail.
  4. Bulk approval – tick the expenses you want to approve, either individually or in bulk:
    a. Individually – window on the right for each expense
    b. Bulk – window on the right above all expenses

  5. Select Approve Selected (bottom right) and confirm with the Approve Items button.


Mobile app

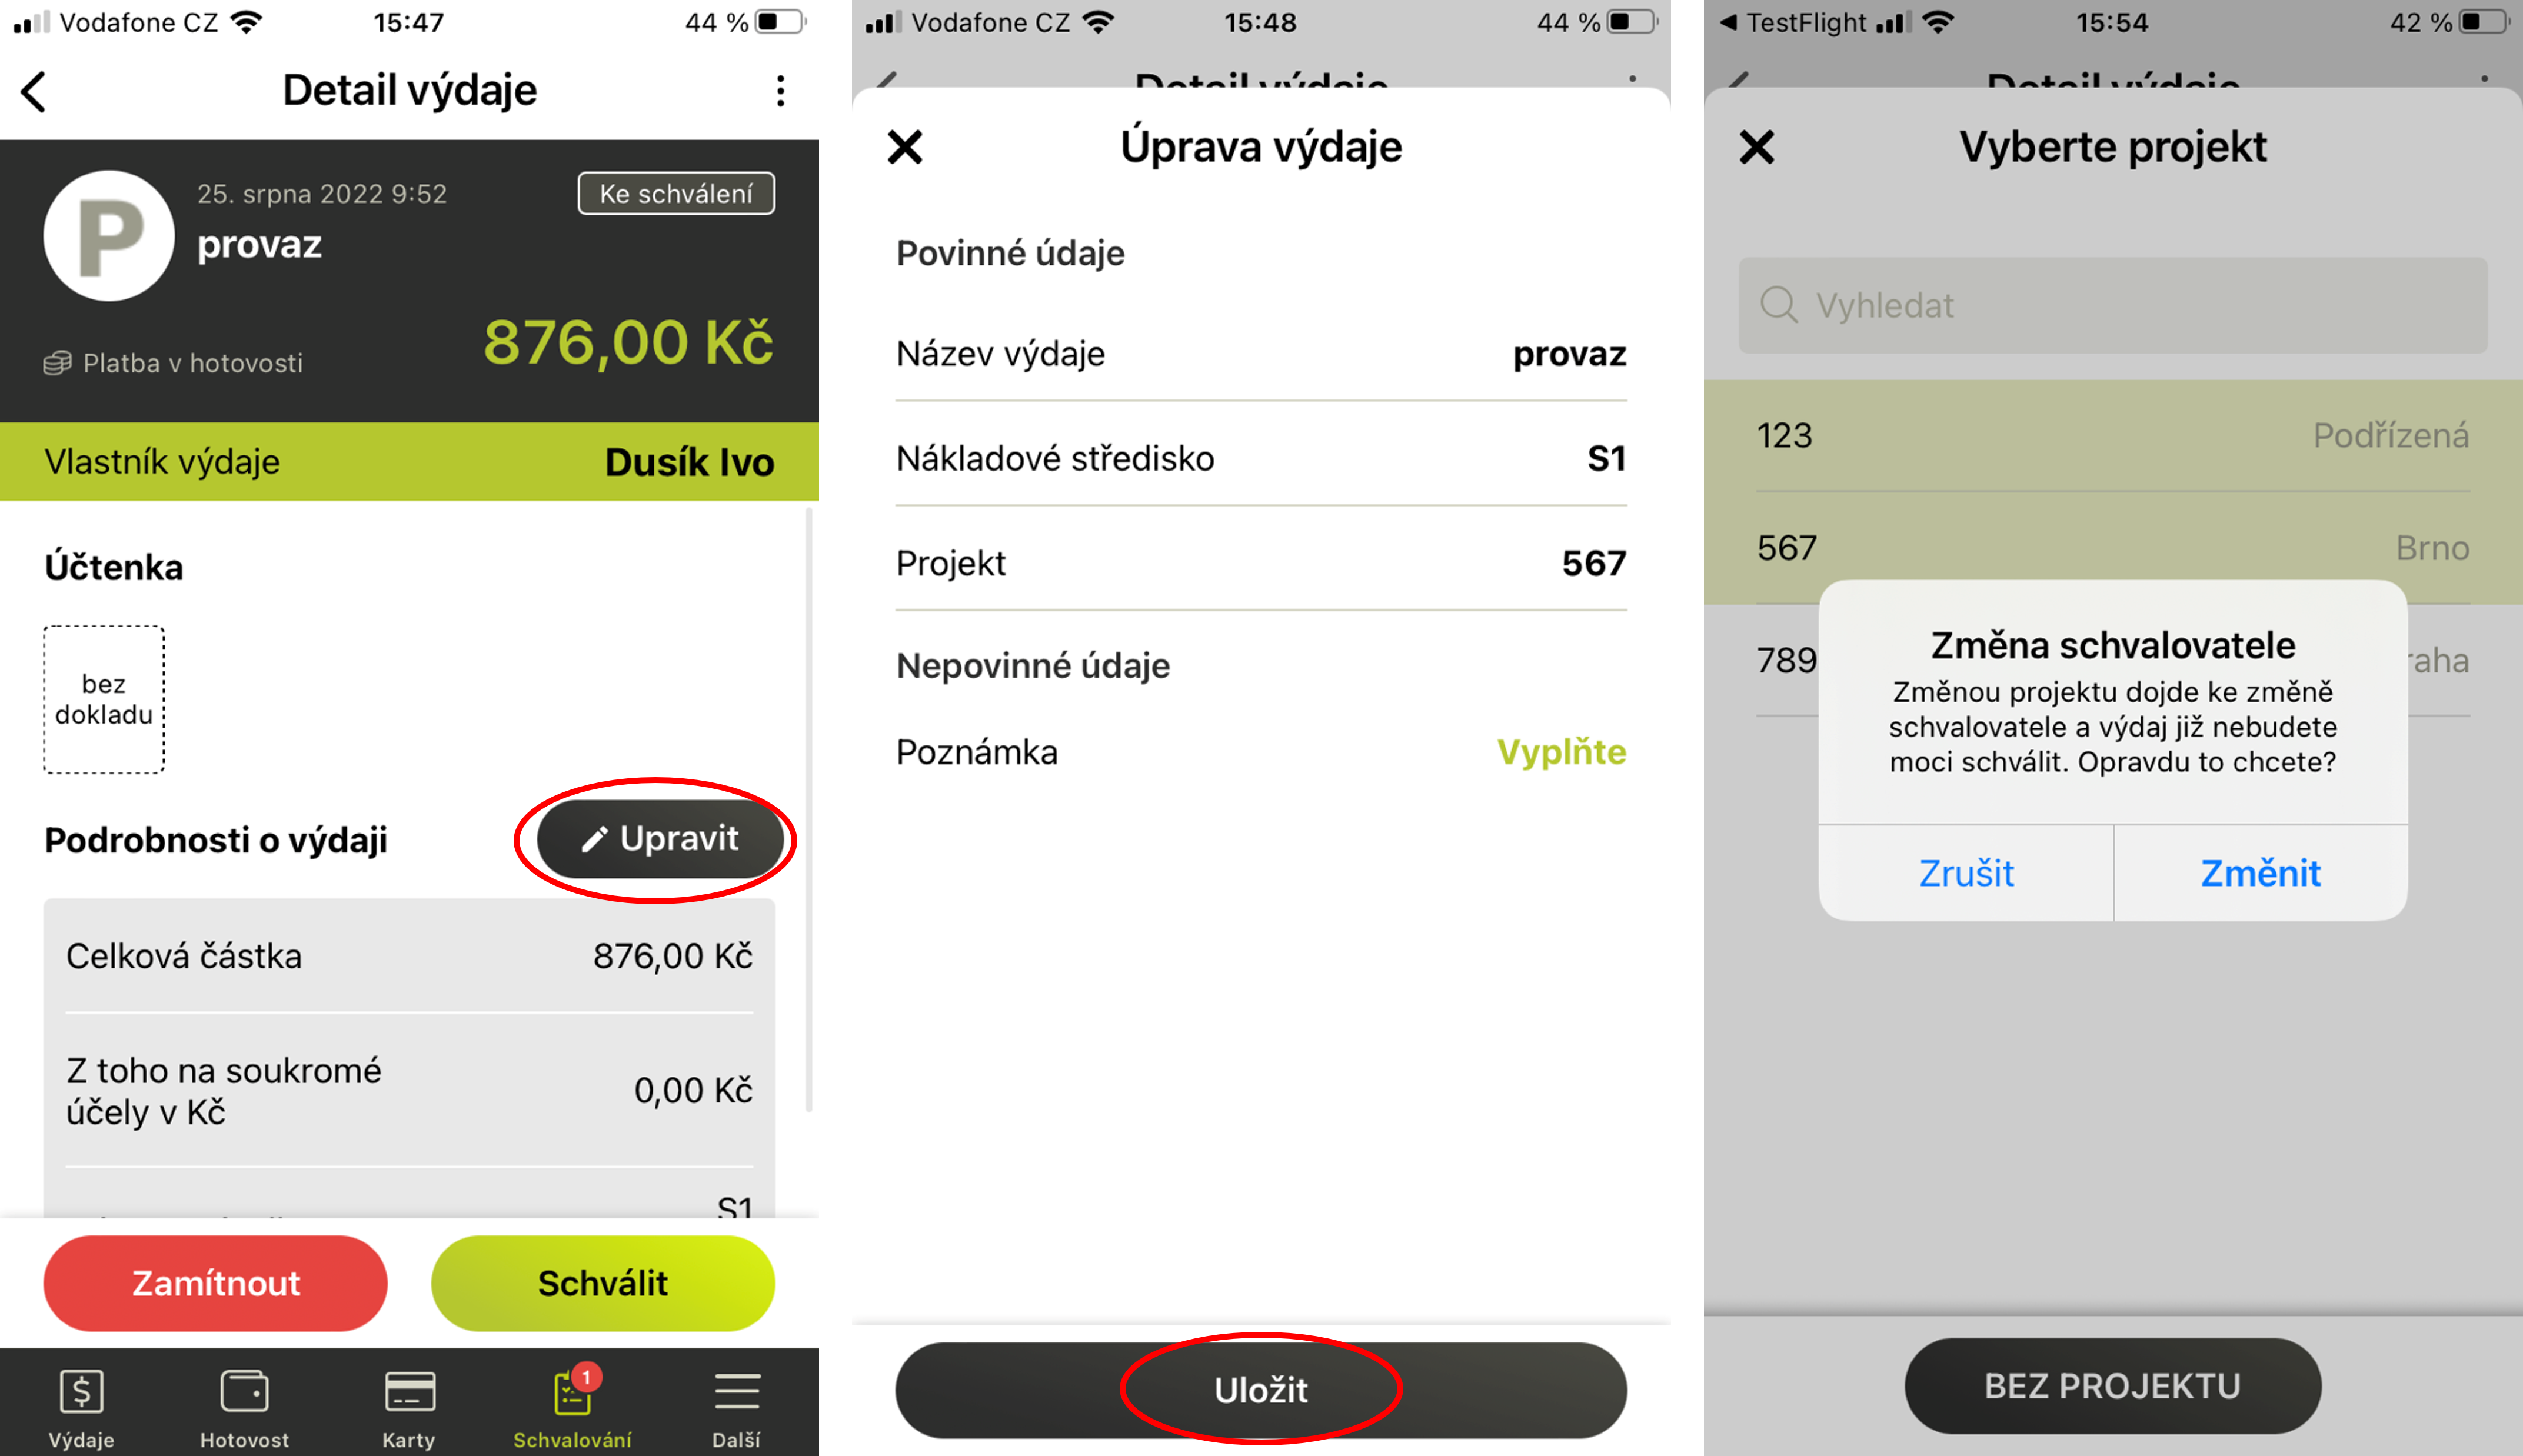
  1. Bottom menu – Approvals Expenditure tab.
  2. Click on the expense you want to approve.
  3. If necessary, select Edit, edit the data and Save.

  4. Select Approve and Confirm.

Rejection of expenses

Web app

  1. Approvals section tab Expenses and Receipts click on the person you want to approve.
  2. Click on the name of the expense and check it.
  3. Select Reject Expense in the expense detail.
  4. Fill in the reason and select Reject.
  5. For Bulk Approval, tick the expenses you want to reject, either individually or in bulk:
    a. Individually – window on the right for each expense
    b. Bulk – window on the right above all expenses

  6. Select Reject Selected (bottom right).
  7. Fill in the reason and select Reject items.


Mobile app

  1. Bottom menu – Approvals Expenditure tab.
  2. Click on the expense and type Reject.
  3. Fill in the reason and select Reject.

Frequently asked questions about the web or mobile application

The issue is returned to the user for further editing. At the same time, the user will receive an email stating the reason for the rejection.

Approval and rejection of assignments

Approval of assignments

Web app

  1. Approvals section tab Expenses and Receipts click on the person you want to approve.
  2. Click on the name of the receipt and check it.
  3. Click on Approve Request/Report in the detail of the assignment.
  4. In the case of Bulk Approval, tick the receipts and the accompanying expenses you wish to approve (box to the right of each item).

  5. Select Approve Selected (bottom right) and confirm with the Approve Items button.

Mobile app

  1. Bottom menu – Approvals – tab Honours.
  2. Click on the receipt you want to approve and check it.
  3. Select Approve and Confirm and Close.

Rejection of assignments

Web app

  1. Approvals section tab Expenses and Receipts click on the person you want to approve.
  2. Click on the name of the receipt and check it.
  3. Click on Reject Request/Message in the detail of the assignment.
  4. Fill in the reason and select Reject.
  5. In the case of Bulk Approval, tick the receipts and the accompanying expenses you wish to reject (box to the right of each item).

  6. Select Reject Selected (bottom right).
  7. Specify the reason and select Reject Items.

Mobile app

  1. Bottom menu – Approvals – tab Honours.
  2. Click on the assignment and type Reject..
  3. Fill in the reason and select Reject.

Yes, partly. In the bottom bar under the Approvals section, select the Honours tab. Click on the detail of the assignment from which you can approve or reject it.

However, you will only find reports in the list of receipts that have all attached expenses in the To be approved status. Other messages can only be found in the web app. 

In the case of project approval settings, assignments can only be approved in the web application.

Approval and rejection of top-up card applications

Approval of a top-up card application

Web app

  1. Approvals section tab Recharge Cards click on the card you want to approve.
  2. Select Approve (bottom right).


Mobile app

  1. Bottom menu Approvals tab Recharge Click on the tab you wish to approve.
  2. Select Approve and Close.

Rejection of a top-up request

Web app

  1. Approvals section tab Recharge Cards click on the card you want to reject.
  2. Select Reject (bottom right).
  3. Give a reason and Confirm.


Mobile app

  1. Approvals section tab Recharge Click on the tab you want to reject.
  2. Select Reject.
  3. Give a reason and select Reject.