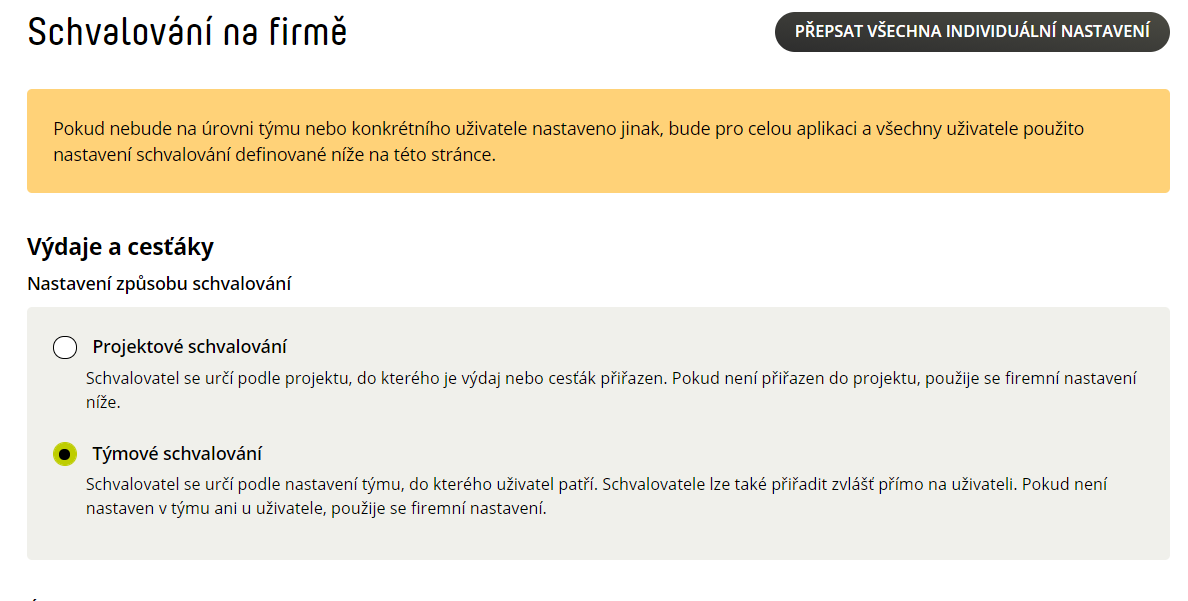
- Section Settings – Company – Approval.
- Select the approval method, levels, and select an approver from the list of application users.

- Confirm with the Save settings button.
If you want to set up consistent approvals for all users, teams, and projects at the company level, proceed as follows: - Click Override all individual settings.
- Confirm with the Override all settings button.
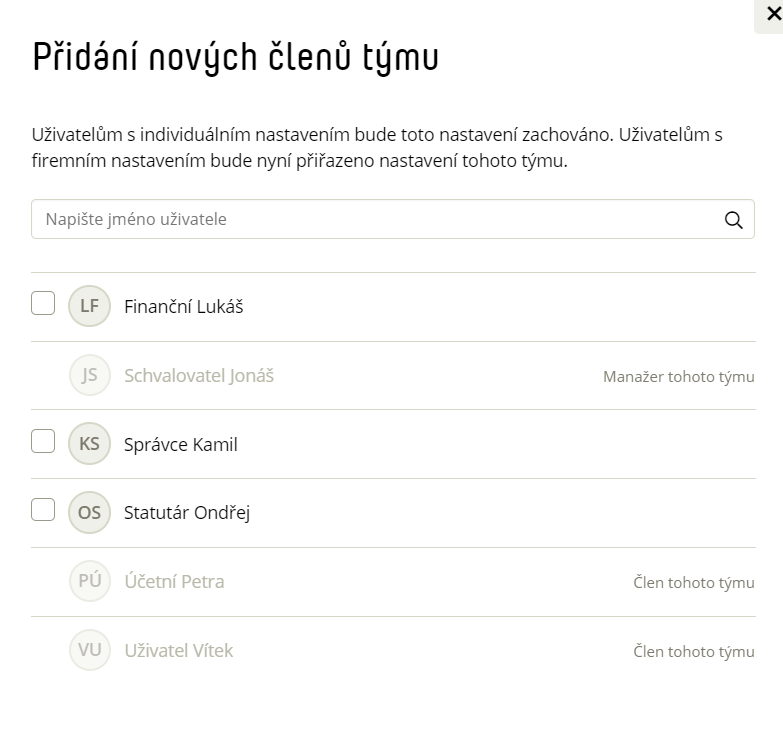
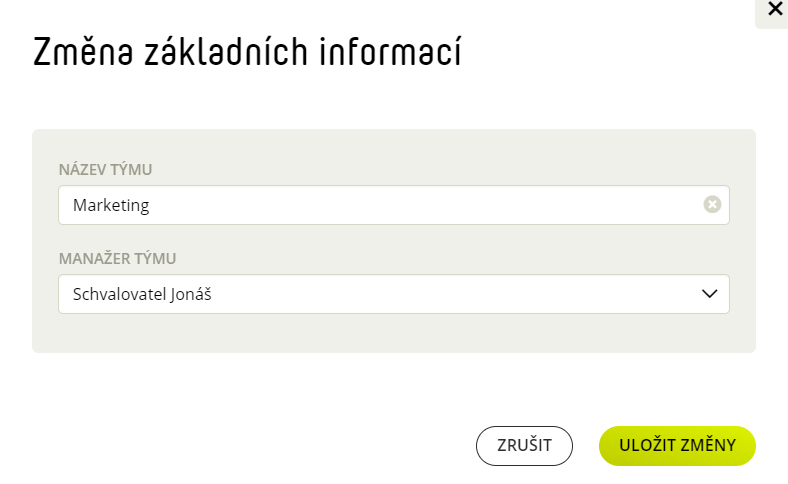
- Settings – Teams – select the team you want to edit.
- Approval tab.
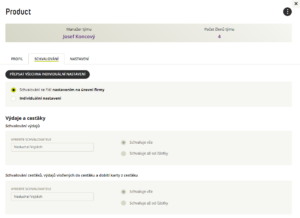
- Edit levels and approvers and Save settings.
If a team member has individual user-level approvals set up, you need to override all of these settings to team-level approvals. After saving the settings, continue: - Click the Override all individual settings box and confirm with the Override settings button.
- Section Settings – Projects – select the project you want to edit.
- Approvers tab.
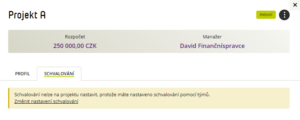
- Edit levels and approvers and Save settings.