Fidoo only includes transactions that have cleared in the statement. It may therefore happen that a transaction made at the end of the month will be included in the following month’s statement. You can find these blocked transactions using the following filter:
- Section Corporate Finance – Cards – Transactions tab.
- Click Set up filter, select the period and check Blocked only or other parameters and enter Confirm filter.
Blocked transactions will appear in the list on the left side of the screen and you can download them using the button ![]()

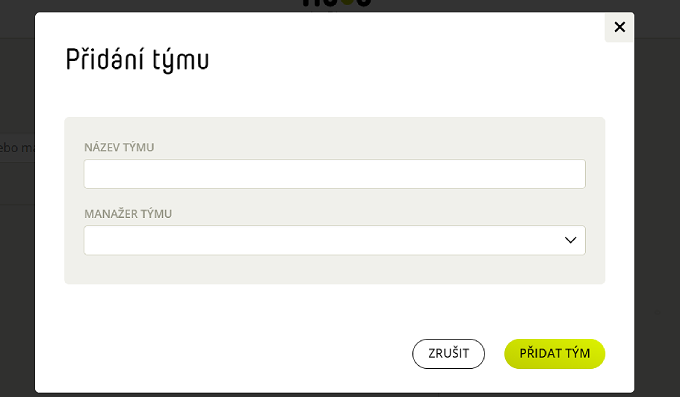
 , select Add Team Members and select them from the list of users in the app.